TechIDManager LAPS is a significant improvement over Microsoft LAPS because we built it specifically for the needs of MSPs.
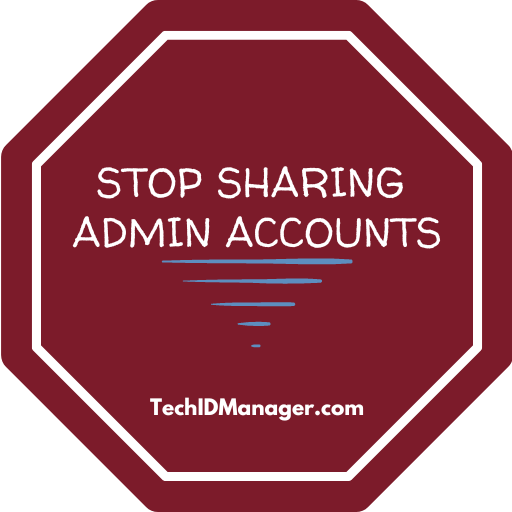
Before we delve into the specifics of TechIDManager LAPS, we first want to place this shared Local Administrator Password Solution (LAPS) into the context of unique Privileged Account Management (PAM) because our mantra has always been, and will continue to be: Stop Sharing Admin Accounts
Everyone agrees you should not share admin accounts, but there are valid business and technology reasons why MSPs are forced to share admin accounts. In the cases where MSPs are forced to share accounts, we are here to help. The first reason we are addressing is the need for multiple techs to see the credentials for a local machine with a single “Administrator” account.
Recognizing this valid reason, we now provide a unified solution for both LAPS and PAM accounts, and in future releases we will address other business and technology needs in the Privileged Account Management, Privileged Access Management, and password access control space.
As the following table illustrates, TechIDManager LAPS is designed to overcome the limitations and fill the gaps present in Microsoft LAPS. It’s a comprehensive solution designed to offer the flexibility and control that MSPs need to manage shared and unique accounts across all platforms effectively at the scale that MSPs need:
| Feature | TechIDManager LAPS | Microsoft LAPS |
| On-Prem AD joined computers | Yes | Yes |
| Azure AD joined computers | Yes | Yes |
| Standalone (workgroup) computers | Yes | No |
| Single interface across companies | Yes | No |
| Offline access | Yes (1) | Sometimes (2) |
| Mobile credential access for Techs | Yes | No |
| Credential injection into MSP tools | Yes | No |
| ANY existing local account | Yes (multiple) | Yes (single) |
| ANY existing domain account | Yes | No |
| ANY existing Azure account | Coming in Q3 2023 | No |
| Easy setup | Yes | No |
| Password rotation | Every 24 hours | On expiration or after use |
Notes:
1 – Offline access by techs to their credentials and credentials work when the machine is offline.
2 – If the domain controller is accessible and if local credentials have not expired.
TechIDManager is more than just a single solution—it’s a series of building blocks for PAM designed to solve a multitude of challenges that MSPs face with privileged accounts. Now with LAPS included, TechIDManager is an extremely flexible tool for managing the credentials for your shared local admin accounts and unique privileged accounts all in one comprehensive solution.
To learn more and install TechIDManager LAPS, please visit: https://techidmanager.com/techidmanager-laps-installation-instructions/